Transform your living spaces with these seven budget-friendly DIY wall art ideas that blend creativity and personal flair. Start with painted canvas art, using acrylics and painter's tape for custom designs. Try framed fabric prints, where unique textiles can be easily changed. Wood pallet signs add rustic charm, perfect for quotes or decorations. String art creates eye-catching designs using nails and colorful thread. Paper-cutout collages offer vibrant and textured visuals, while embroidery hoop displays add whimsical elegance. Finally, vintage photo galleries tell personal stories through curated arrangements. Explore these ideas to elevate your home's aesthetics and discover more inspiring techniques.
Key Points
- Painted Canvas Art: Create personalized art using acrylic paints and simple techniques like geometric patterns or abstract designs.
- Framed Fabric Prints: Showcase beautiful fabric patterns with basic tools, creating a cost-effective and elegant decor option.
- Wood Pallet Signs: Customize free pallets with paint or stencils for unique, eco-friendly wall decor.
- String Art Designs: Craft eye-catching designs with nails and string on wooden boards, perfect for adding depth and dimension.
- Vintage Photo Gallery Creation: Arrange framed nostalgic photos with thoughtful lighting to tell a personal or family story.
Painted Canvas Art
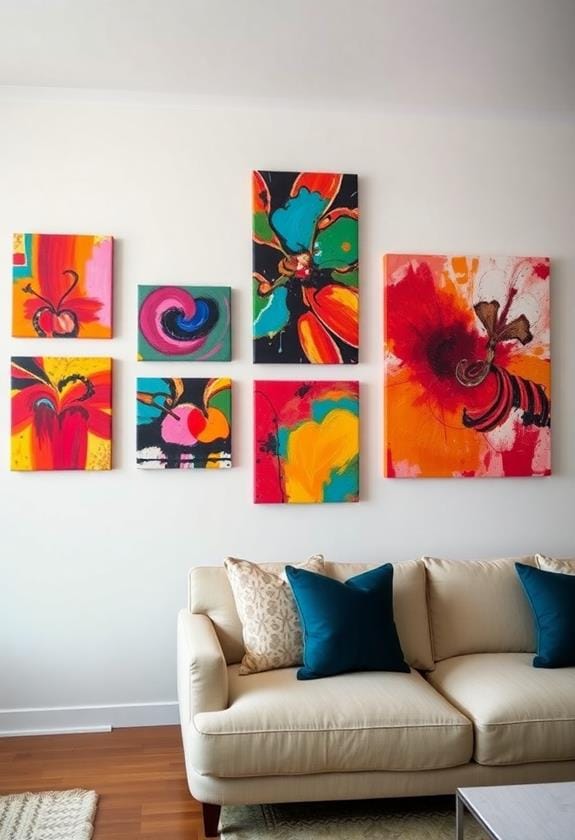
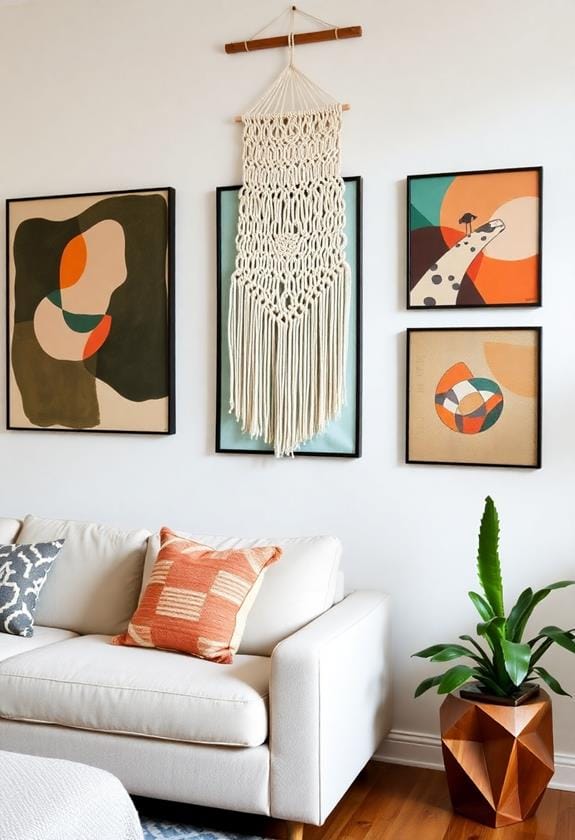
Painted canvas art is a fantastic way to add a personalized touch to your living space. You don't need to be a professional artist to create something beautiful. Start by choosing a canvas size that fits your wall. Consider the colors in your room and pick paints that complement or contrast well. Acrylic paints are a great choice because they're easy to work with and dry quickly. If you're looking for more decor inspiration, you might also explore DIY string art.
Begin with a simple concept. Abstract designs are a good starting point if you're not confident in your drawing skills. Use painter's tape to create geometric patterns or stencils for more intricate designs. Don't hesitate to mix colors directly on the canvas to create unique shades and textures.
If you're feeling more adventurous, try your hand at a landscape or floral scene. Start with a light sketch using a pencil, then gradually build layers of paint. Remember, there's no right or wrong way to express yourself—each brushstroke adds to the character of your piece.
Once you're satisfied with your creation, let it dry completely. Then, find the perfect spot on your wall, and hang your masterpiece for everyone to admire.
Framed Fabric Prints
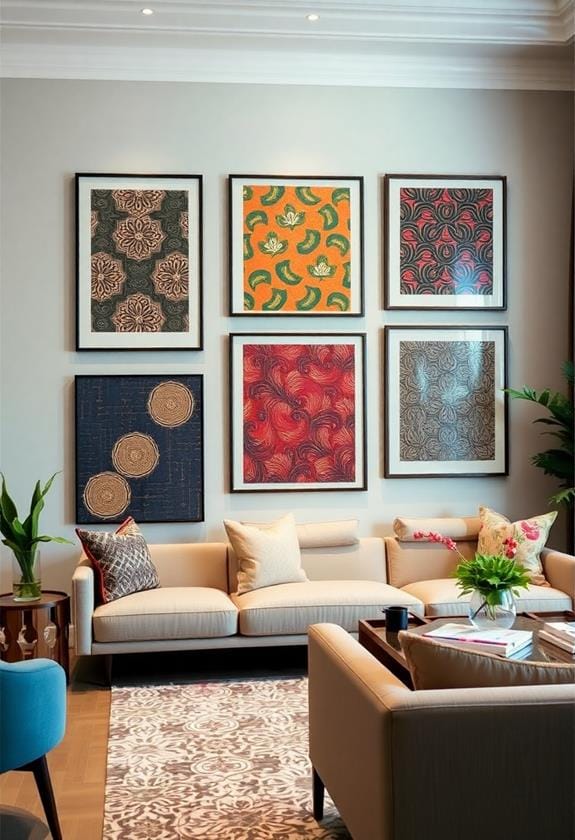
Framed fabric prints are an elegant and simple way to bring texture and color into your home decor. They allow you to showcase beautiful patterns and materials, adding a personalized touch to your space. For those looking to transform their home quickly, quick DIY decor ideas like this can be a game-changer. Start by selecting fabric that complements your room's color scheme or contrasts it for a bold statement. Fabrics with intricate designs, vibrant colors, or subtle textures can all make stunning wall art.
To create your framed fabric print, you'll need a frame, fabric, and basic tools like scissors and a staple gun. Measure and cut the fabric to fit the frame, leaving a bit of extra material around the edges. This guarantees you can pull it tight and secure it properly. Lay the fabric face down, place the frame on top, and fold the fabric over the frame's edges. Use the staple gun to attach the fabric to the frame, pulling it taut to avoid wrinkles.
Once secured, trim any excess fabric, and your framed print is ready to hang. This DIY project is not only budget-friendly but also allows you to refresh your decor whenever you find new fabrics you love.
Wood Pallet Signs
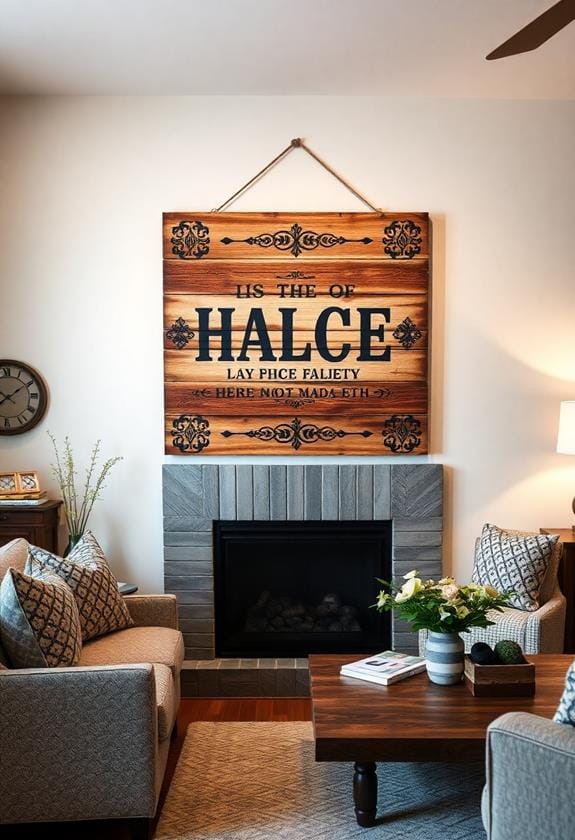
If you're looking for another creative and budget-friendly way to spruce up your walls, wood pallet signs can be an excellent choice. These rustic pieces add a charming, personalized touch to any room and are surprisingly easy to make. You can often find free pallets at local stores or online marketplaces, making this project both economical and eco-friendly. Additionally, incorporating houseplants into your decor can further enhance the natural, rustic feel of your space.
To get started, you'll need to disassemble your wood pallet and cut the planks to your desired size. Sand the wood to remove any rough edges, ensuring a smooth surface for painting or staining. Once prepped, you can customize your sign with paint, stencils, or even vinyl lettering. Feel free to get creative with your design and consider the following ideas:
- Inspirational Quotes: Display a favorite saying to motivate and inspire.
- Family Names: Celebrate your family with a personalized name sign.
- Seasonal Themes: Create interchangeable signs for different holidays or seasons.
- Kitchen Recipes: Showcase a beloved recipe or cooking tip in your kitchen.
Don't be afraid to experiment with different colors, finishes, and designs to make your wood pallet sign uniquely yours. This DIY project is a fantastic way to add character and charm to your home without breaking the bank.
String Art Designs
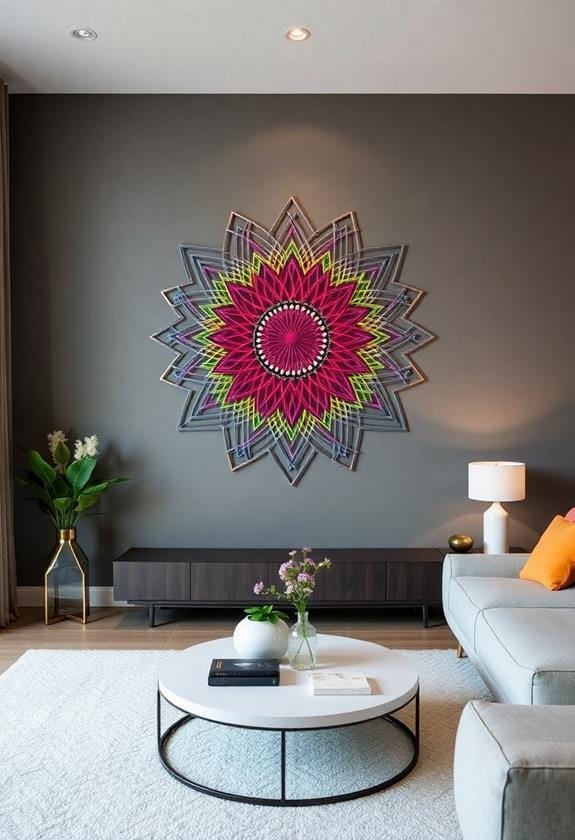
String art designs offer a unique and eye-catching way to personalize your wall decor. You'll find this craft both relaxing and rewarding as you create intricate patterns using just nails and string. Start by choosing a simple design, like a heart or star, especially if you're a beginner. Next, find a wooden board that matches your home's aesthetic, and print out a template of your chosen design.
Place the template on the board and hammer nails along the outline, spacing them evenly. Once the nails are in place, remove the template and begin wrapping the string around the nails. Use different colored strings to add depth and dimension to your piece. Experiment with crisscrossing the string to create various patterns and textures.
String art designs can be as simple or complex as you like. For a more advanced project, consider creating a landscape or an intricate geometric pattern. The key is to be patient and take your time, ensuring that each string is taut and secure. With practice, you'll develop your own techniques and style, resulting in beautiful, personalized wall art that's sure to impress visitors and enhance your living space.
Paper Cutout Collages
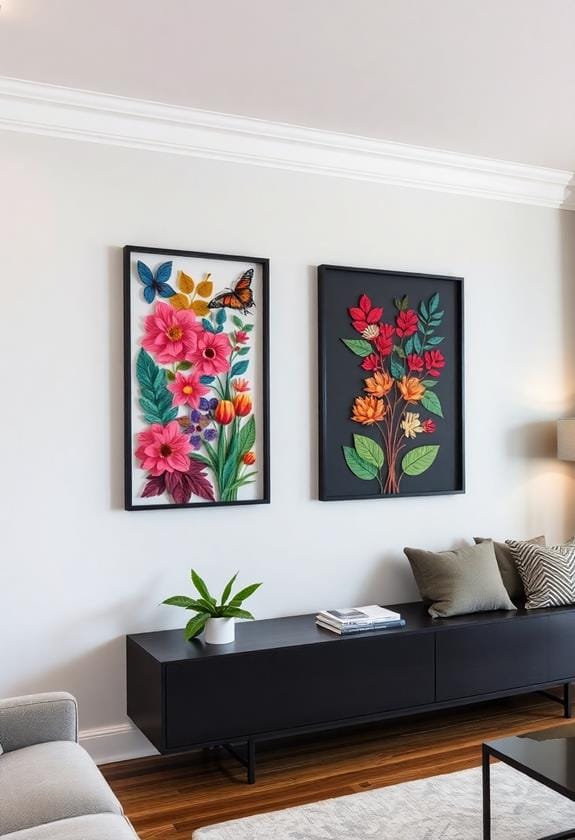
Paper cutout collages are a fantastic way to add vibrant and personalized art to your walls without breaking the bank. You don't need to be an artist to create something beautiful and meaningful. Just gather some colorful paper, scissors, and glue, and you're ready to start.
Begin by choosing a theme or color scheme that complements your room. You can create anything from abstract designs to intricate landscapes. Let your imagination guide you. Here are some tips to get you started:
- Select a variety of paper types: Mix construction paper, scrapbook paper, and even old magazines for different textures and colors.
- Use templates or stencils: These can help you achieve consistent shapes and patterns, especially if you're not confident in your freehand skills.
- Layer your cutouts: Overlapping pieces can add depth and dimension, making your collage more dynamic and visually interesting.
- Frame or mount your collage: This gives it a finished look and makes it easier to hang on your wall.
Experiment with different techniques and arrangements until you're satisfied with your creation. Paper cutout collages are not only budget-friendly, but they also offer a unique and personal touch to your home decor. Happy crafting!
Embroidery Hoop Displays
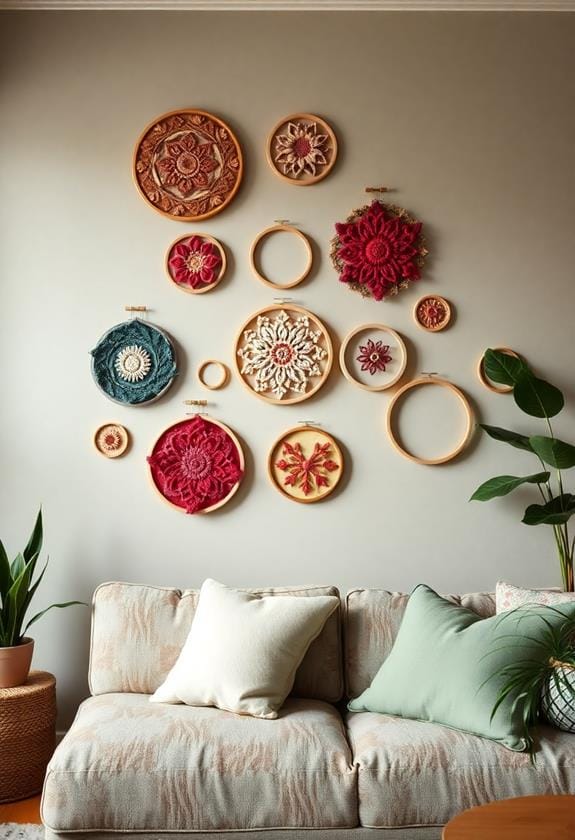
After exploring the vibrant world of paper cutout collages, let's shift to another creative and budget-friendly wall art idea: embroidery hoop displays. These charming pieces add a touch of whimsy and elegance to any room, and they're incredibly easy to make. Start by selecting a variety of embroidery hoops in different sizes. You'll also need some fabric – feel free to mix and match patterns and textures to create a unique look. For inspiration, you can explore some of the unique diy home decor products available online.
Begin by stretching the fabric tightly within the hoop, securing it in place with the tightening screw. Trim any excess fabric around the edges for a clean finish. If you're feeling extra creative, you can embellish the fabric with simple embroidery stitches, beads, or even small appliqués. Don't worry if you're not an expert at embroidery; even the most basic stitches can add a lovely touch.
Once your hoops are ready, arrange them on the wall in a visually pleasing pattern. You can create a symmetrical layout or go for a more eclectic arrangement. Use small nails or adhesive hooks to hang them securely. In no time, you'll have a stunning, personalized art display that's sure to impress.
Vintage Photo Gallery
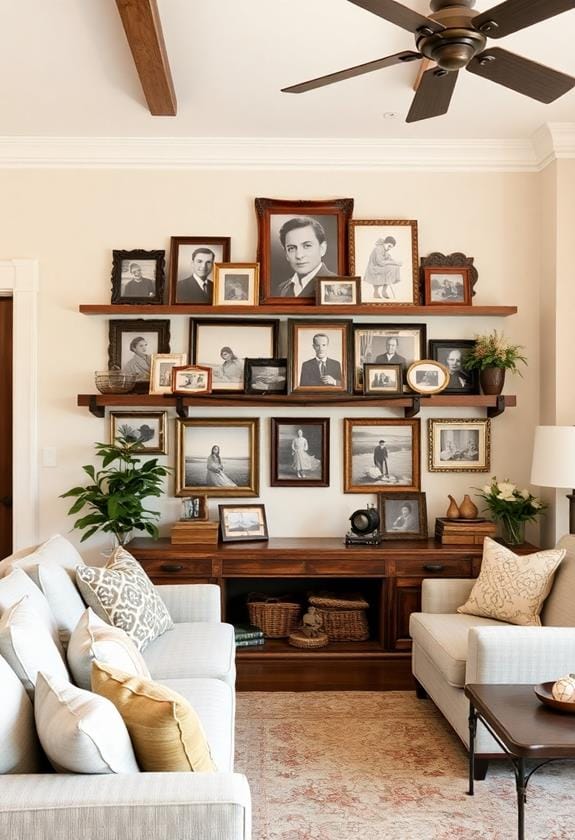
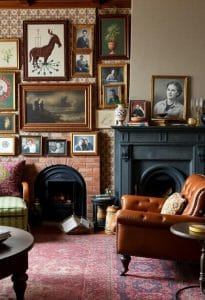
There's something undeniably charming about a vintage photo gallery that breathes life into any space. By curating a collection of old photographs, you're not just decorating your walls, you're telling a story. Start by gathering family heirlooms or scouring antique shops for unique finds. The beauty of a vintage photo gallery is in its versatility and the personal touch it adds to your home. For an added touch, you can even transform fabric scraps into frames or matting to further personalize your gallery.
To create your own, follow these simple steps:
- Frame Selection: Choose frames that complement the vintage vibe. Look for weathered wood, ornate metal, or even mix-and-match styles for a more eclectic look.
- Photo Arrangement: Lay out your photos on the floor first to experiment with different arrangements. Consider a symmetrical grid for a classic feel or a more freeform layout for a relaxed look.
- Wall Preparation: Use a level and measuring tape to verify your photos are hung straight and evenly spaced. Don't rush; precision makes a big difference.
- Lighting: Enhance the nostalgic feel by using soft, warm lighting. Picture lights or strategically placed lamps can highlight your gallery perfectly.
Frequently Asked Questions
What Are Some Budget-Friendly Materials for DIY Wall Art Projects?
You can create stunning DIY wall art on a budget by using materials like canvas boards, poster boards, or old newspapers. Paints and brushes are affordable and versatile, while washi tape and fabric scraps offer unique textures. Repurpose items like wine corks, buttons, or even branches for a natural touch. Don't forget about digital prints; they're inexpensive to print and frame, giving your walls a personalized feel without breaking the bank.
How Can I Create Wall Art Without Using Nails or Screws?
You can create wall art without nails or screws by using adhesive strips or hooks, which are strong and removable. These products won't damage your walls and can support lightweight frames or canvases. Another option is using washi tape to create temporary designs directly on the wall. Magnetic paint is also a fun alternative, allowing you to attach art with magnets. These methods offer flexibility and ease for your DIY projects.
What Are Some Quick and Easy Wall Art Ideas for Beginners?
You're looking for quick, easy wall art ideas? Try juxtaposing vibrant colors and neutral tones. You could start with framed fabric swatches, which add texture without much effort. Another idea is creating a gallery wall with photos and prints using adhesive hooks, offering flexibility and ease. Washi tape designs are also fantastic for beginners, allowing you to craft geometric patterns or borders without any hassle. These methods are both simple and stylish.
How Do I Choose the Right Color Palette for My Wall Art?
Choosing the right color palette for your wall art starts with considering your room's existing colors, like furniture and decor. Stick to a few complementary colors to create harmony. Use a color wheel if you're unsure—analogous colors (next to each other) or complementary colors (opposite) work well. Also, think about the mood you want to convey; warm colors energize, while cool tones calm. Don't be afraid to experiment!
Can I Make Wall Art With Items I Already Have at Home?
Oh, you mean those random items cluttering your home? Turns out, they can actually become stunning wall art! Start by gathering old magazines, fabric scraps, or even unused kitchen utensils. Arrange them creatively on a canvas or directly on the wall. It's not just eco-friendly but also unique, giving your space a personal touch. So, yes, you really can make wall art with items you already have at home!

